Frequently Asked Questions
How do I setup VPN for Windows?
-
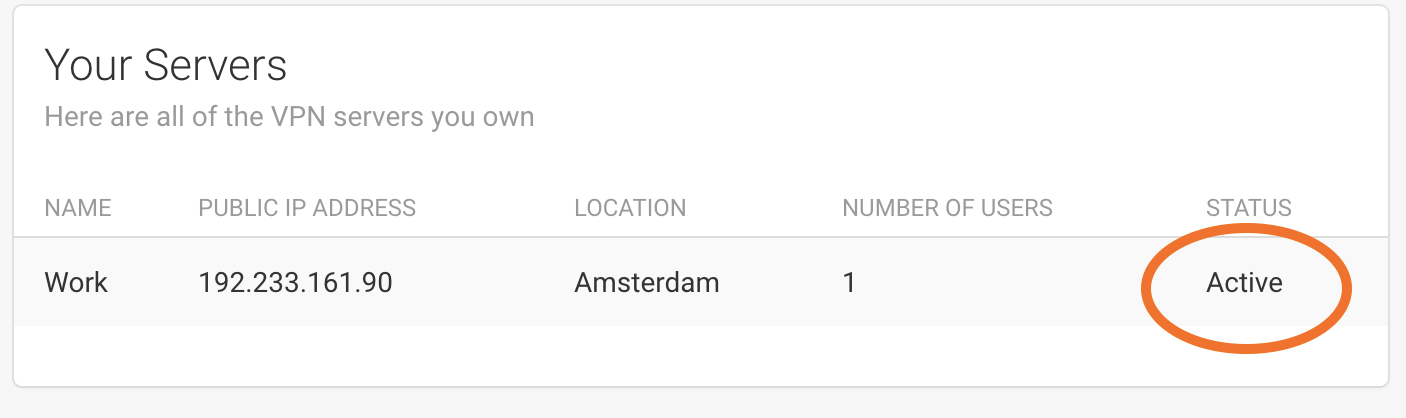
After you have provisioned a VPN server, ensure your server is active. If you had just provisioned your server, please wait for about 1 to 2 minutes for your server to be active. You will know if your server is active when the server's status states "active" as shown here.
-
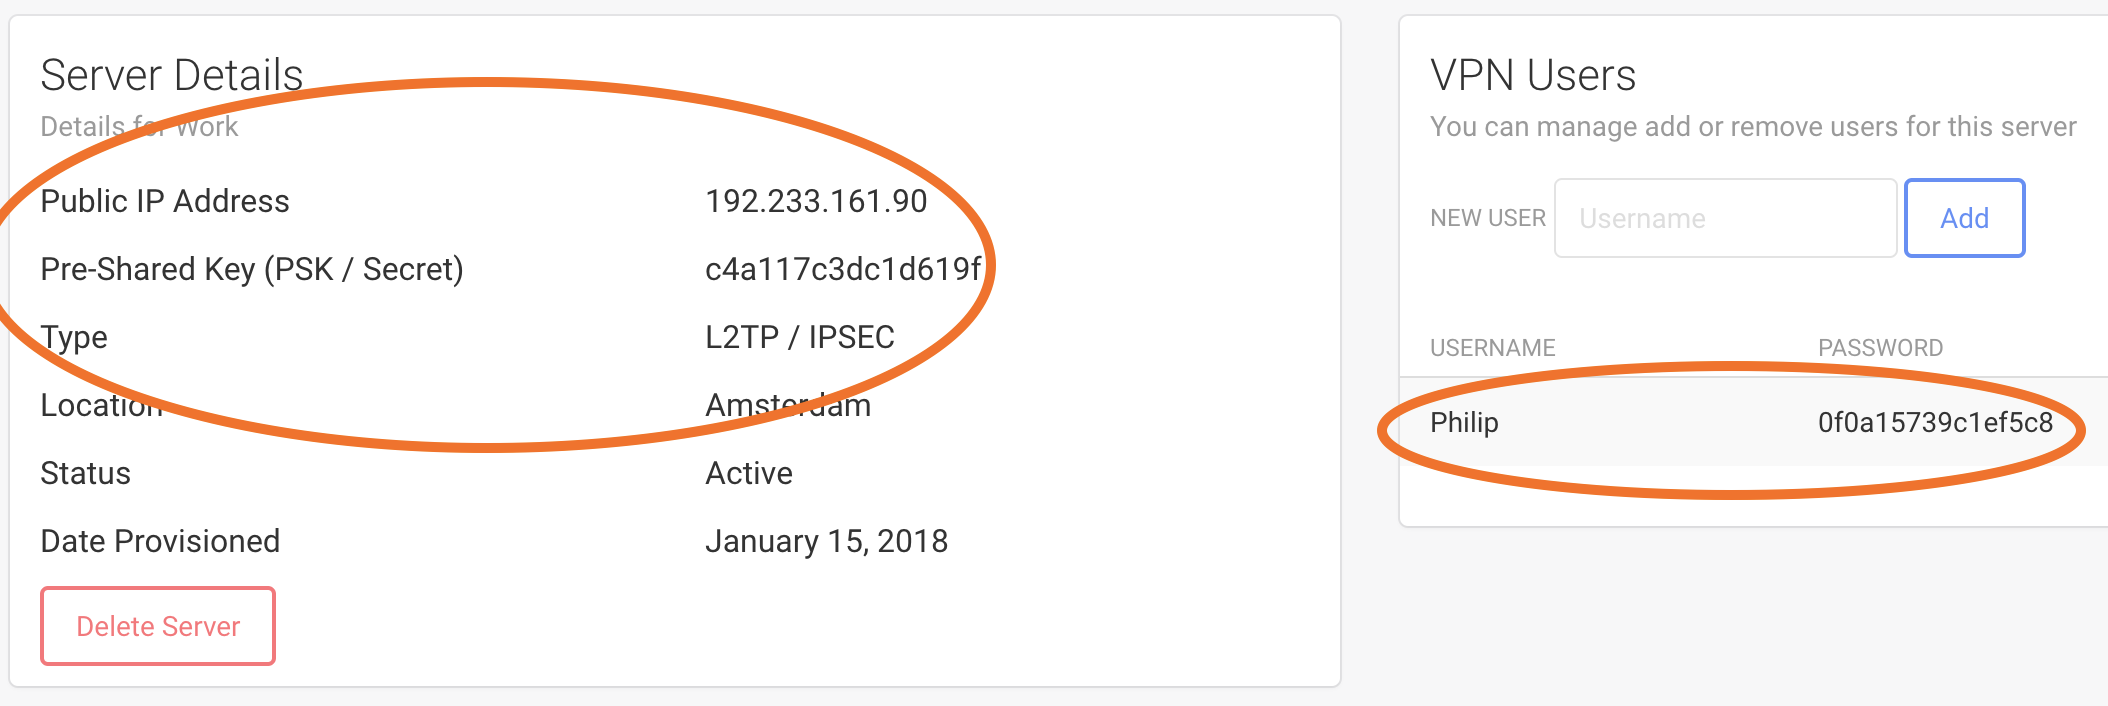
Click on your active VPN server. You will be taken to a page with details about your VPN server. Make note of the following server details:
- Public IP Address
- Pre-Shared Key (PSK / Secret)
- Type
In addition, you will need to make note of the user details:
- Username
- Password
-
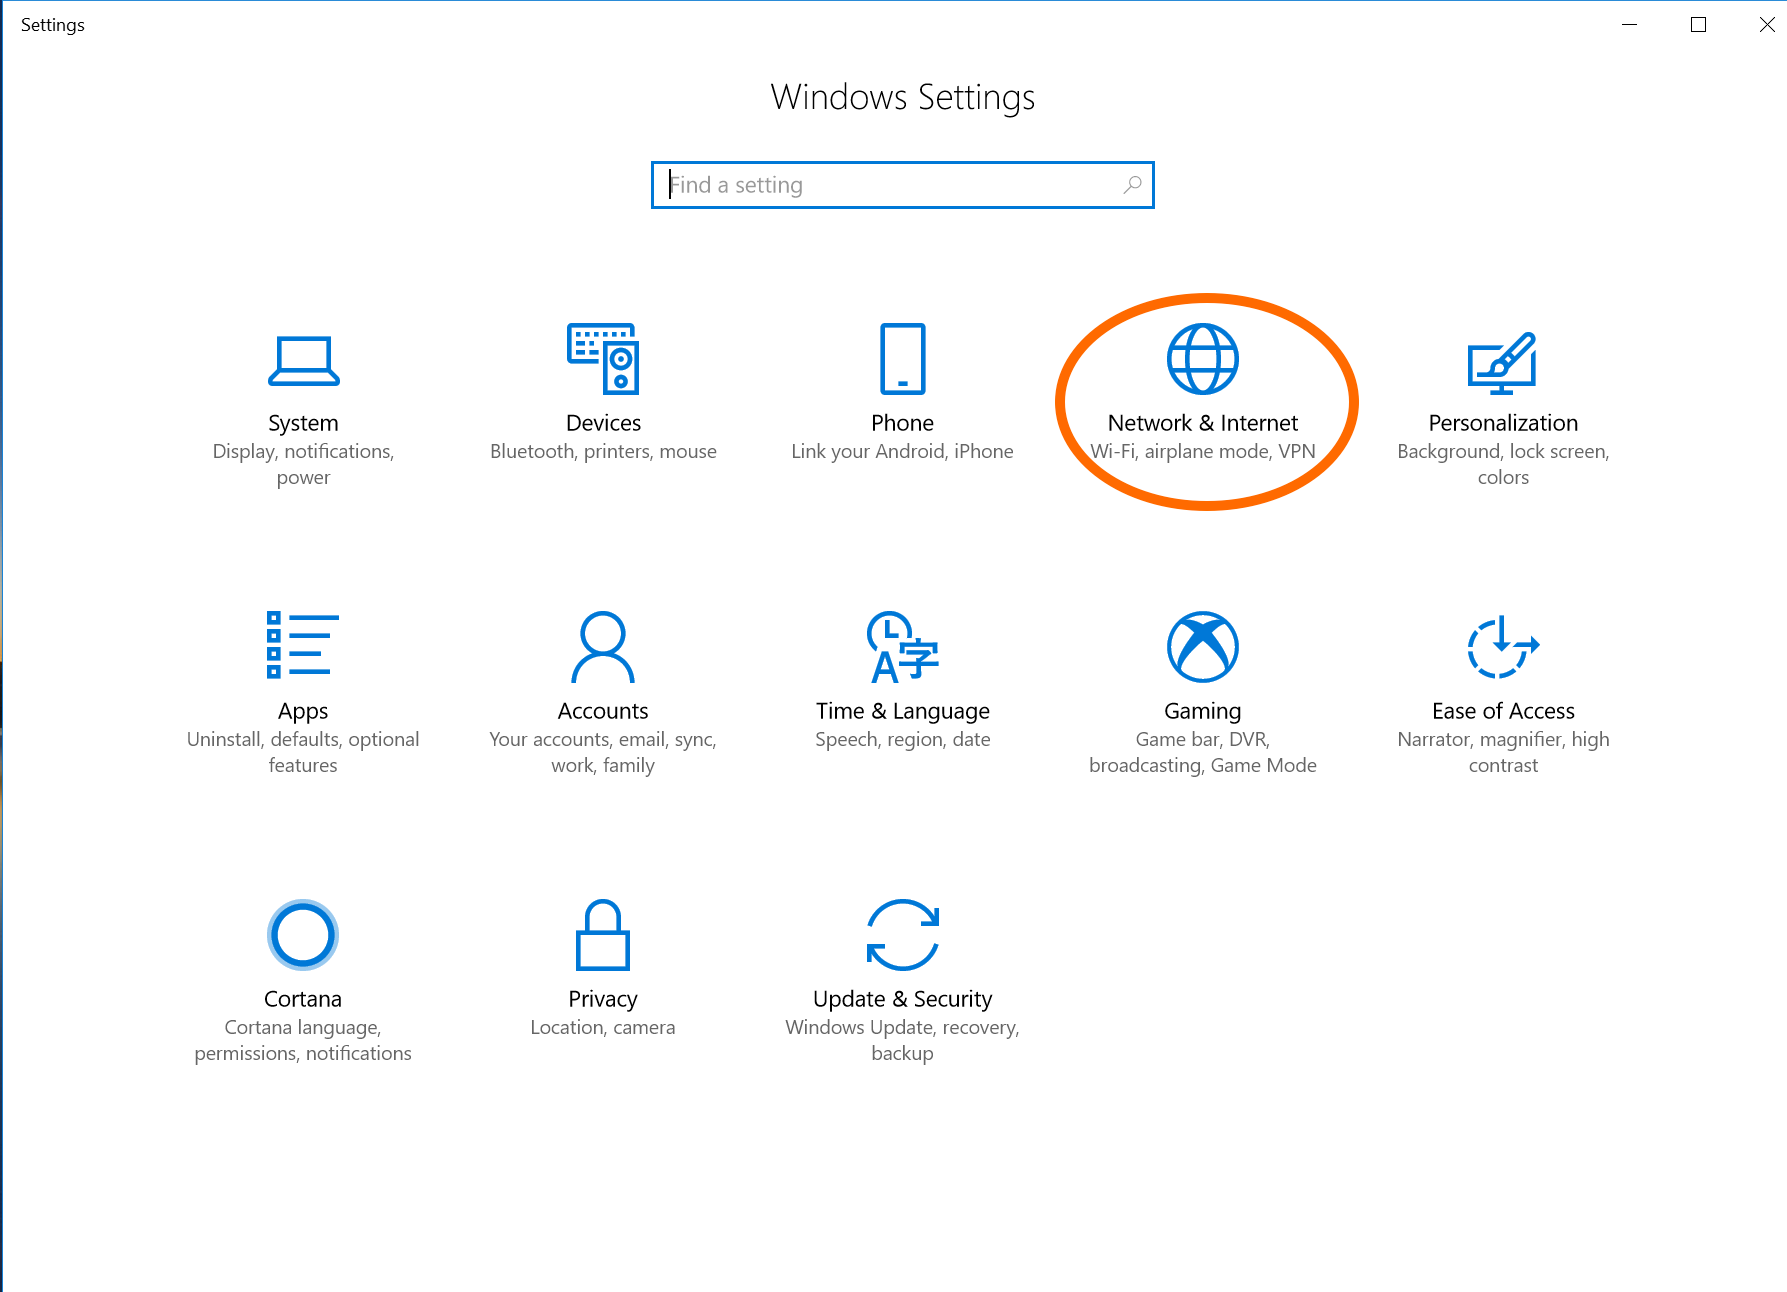
From "Start", click on the "Settings" button (the gear icon).

-
Click on "Network & Internet"
-
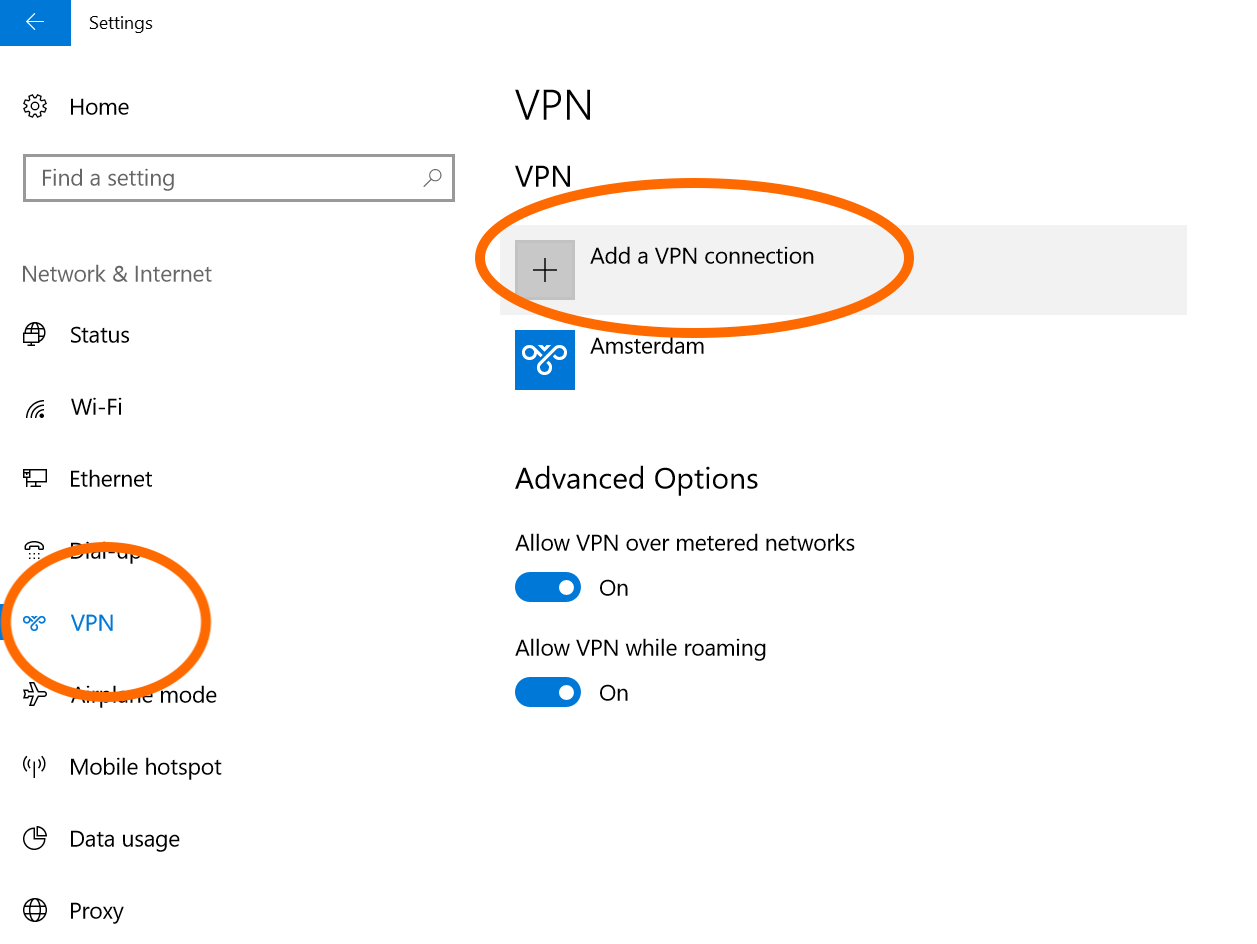
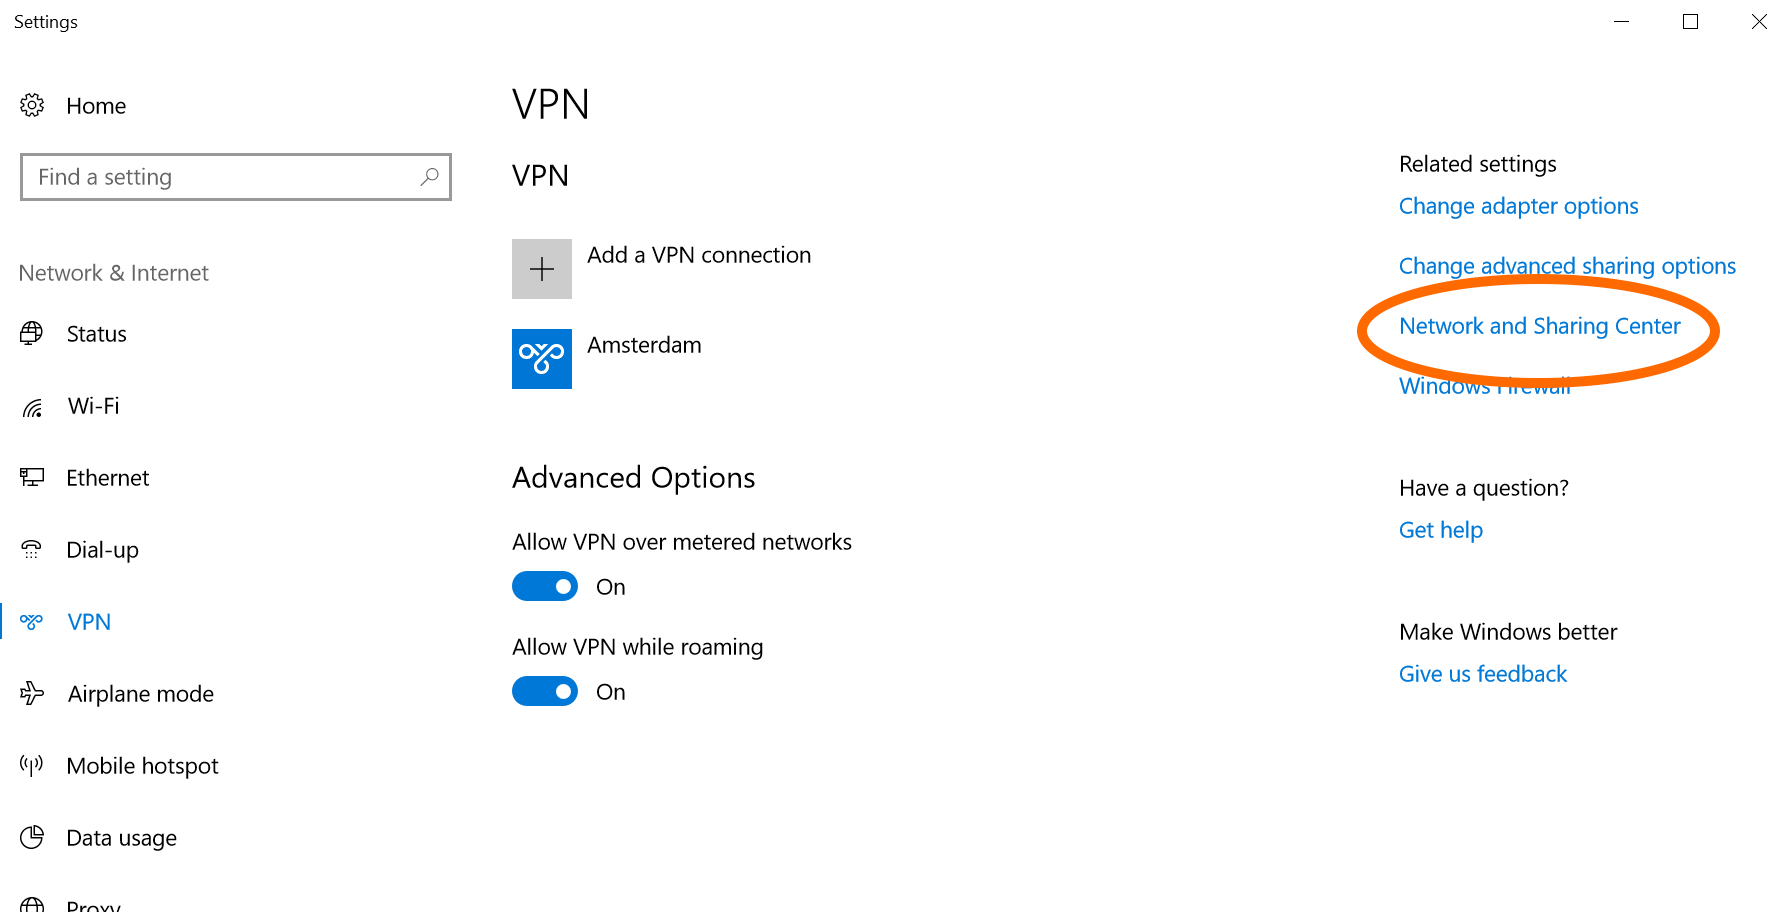
From the left hand side panel, click "VPN", then click "Add a VPN connection"
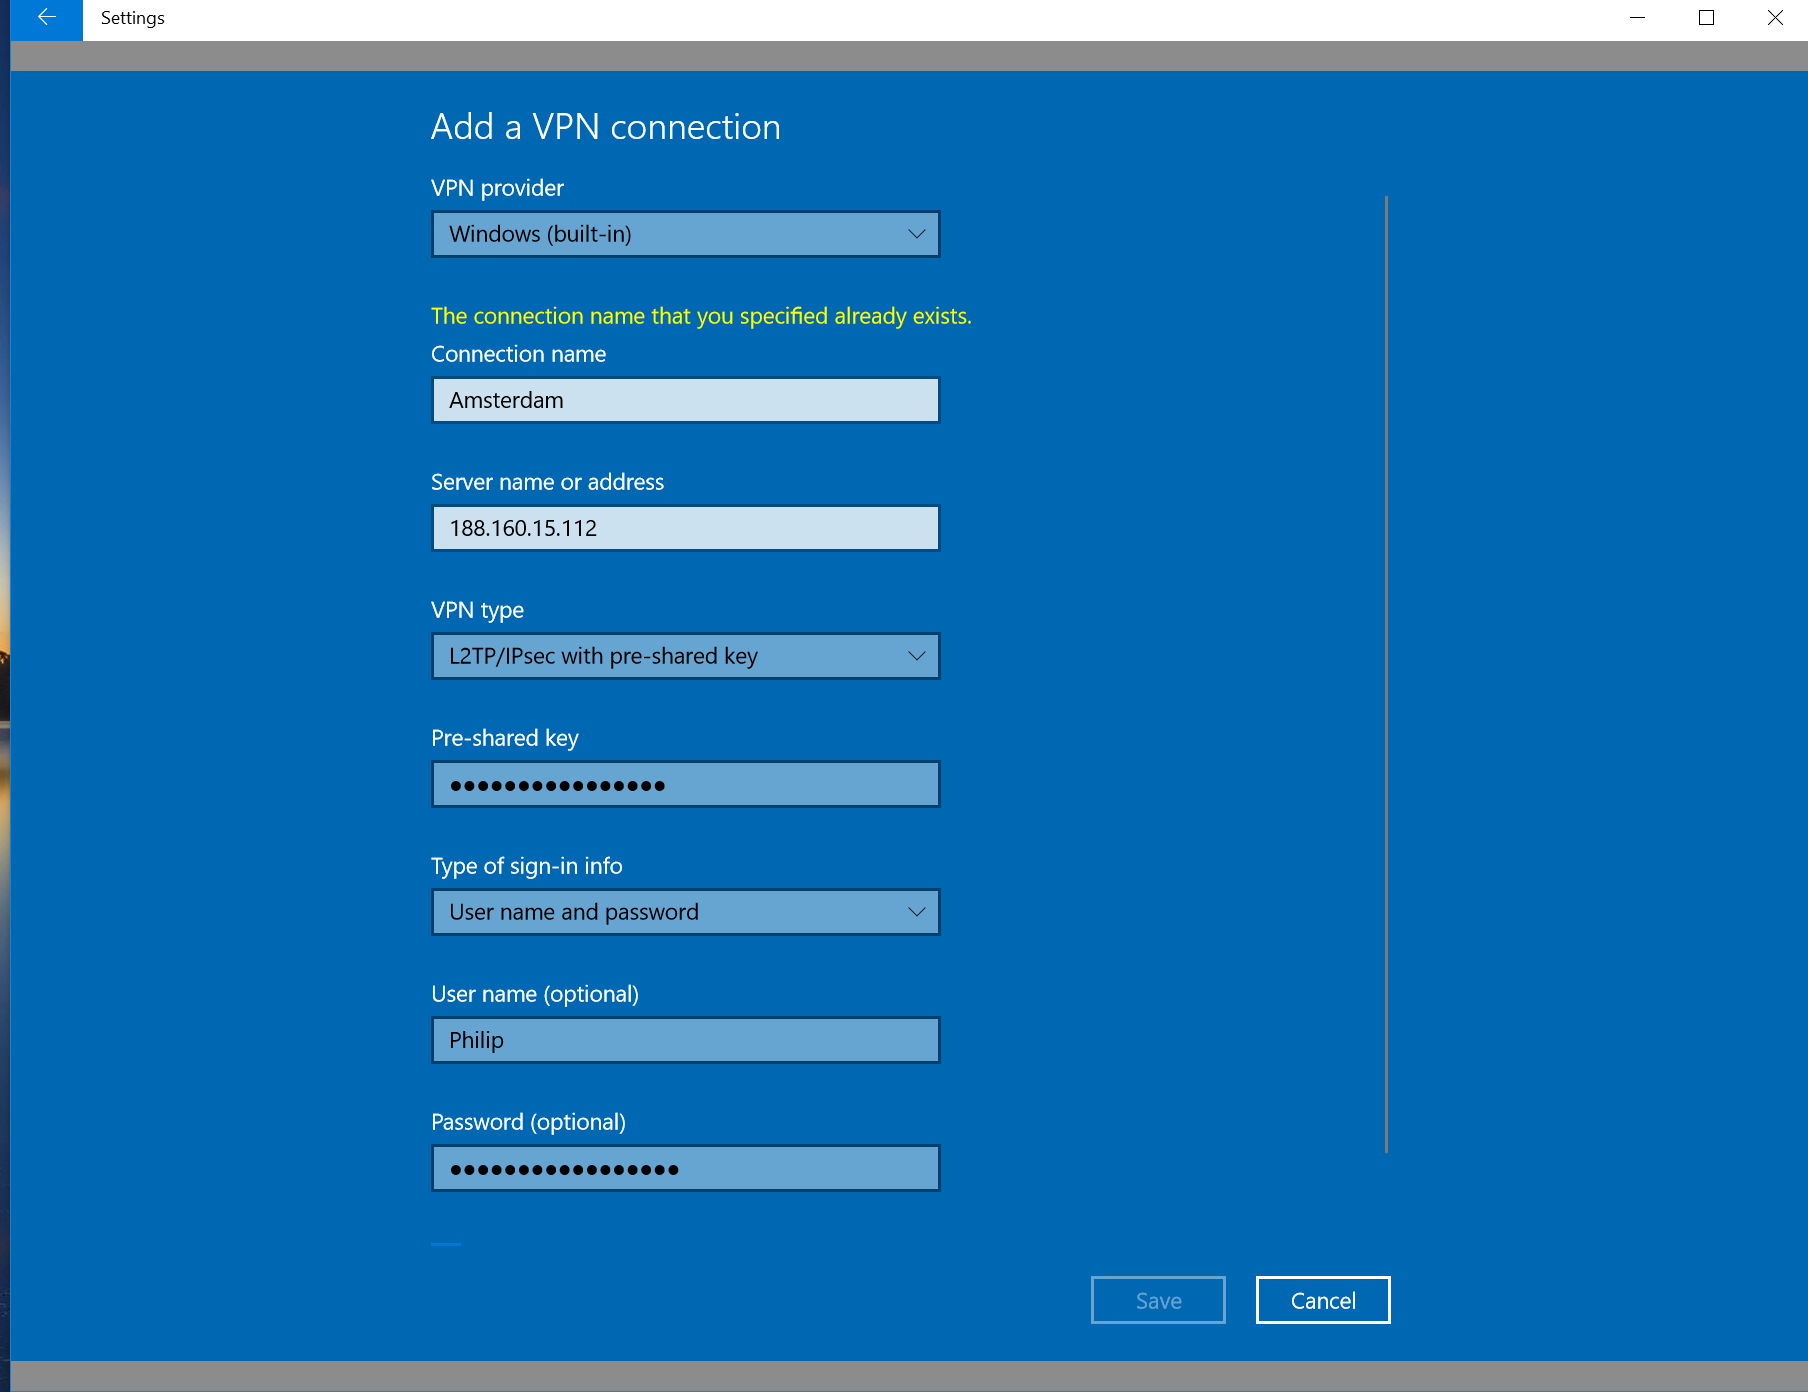
-
- In "VPN provider," select Windows (built-in).
- In "Connection name," give it any name that you'd like. This is simply used to help you identify your VPN.
- In "Server name or address," type in the Public IP Address of your VPN server.
- In "VPN type," select L2TP/IPsec with pre-shared key.
- In "Pre-shared key," type in your Pre-Shared Key (PSK / Secret).
- In "Type of sign-in info," select User name and password.
- In "User name," type in the username you want to use. This is case sensitive.
- In "Password," type in the password belonging to the username. This is case sensitive.
- Click "Save"
-
Now click on "Network and Sharing Center" in the right hand panel.
-
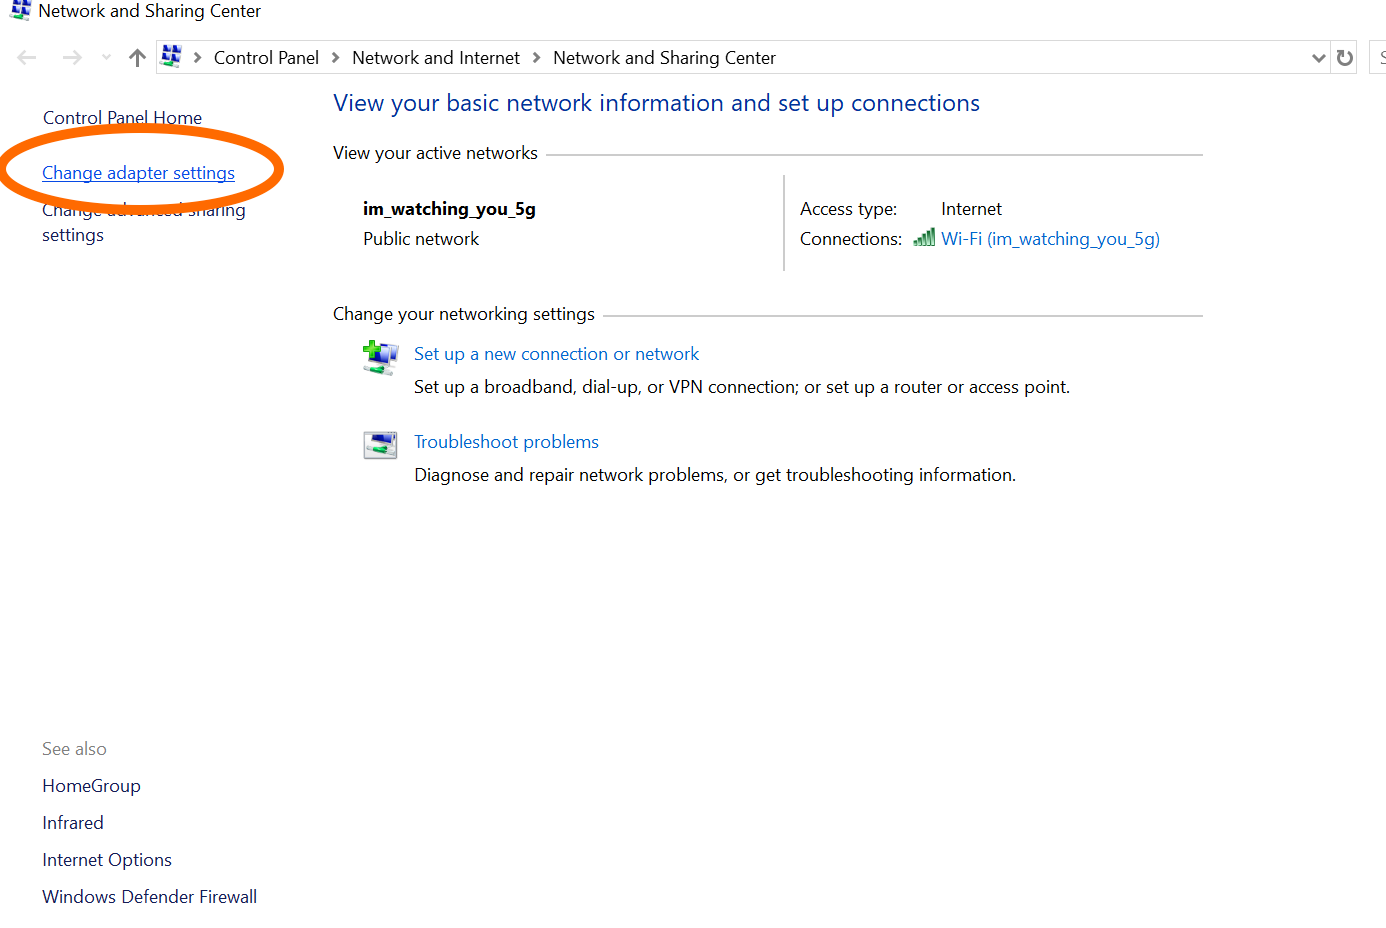
Click on "Change adapter settings." Locate the name of the VPN connection you just created, right click on it, and select "Properties." It may ask you permission, select Yes.
-
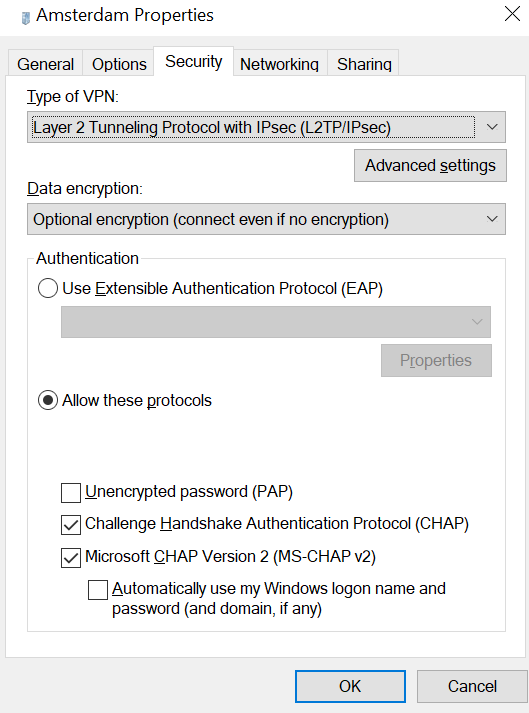
Under the "Security" tab, click "Allow these protocols" and checkmark "Challenge Handshake Authentication Procotol (CHAP)," then click "OK."
-
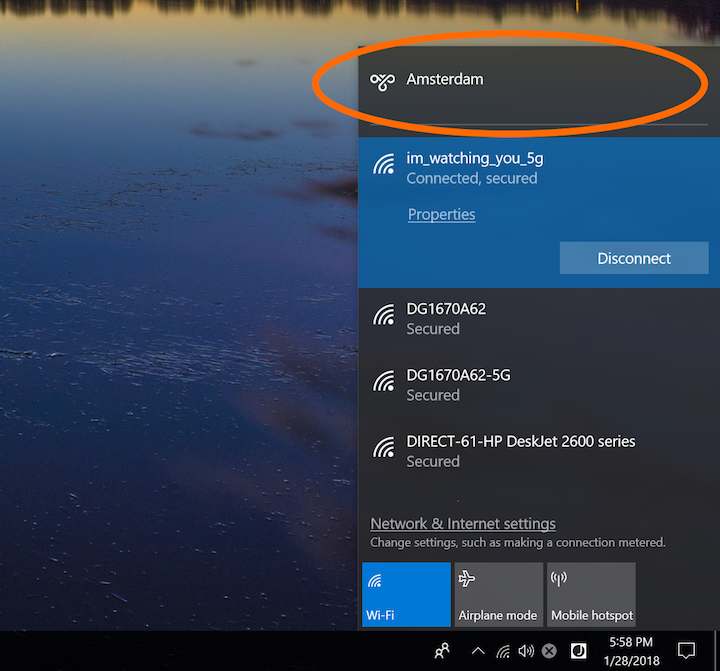
Click on the network (or wifi) icon in your bottom right toolbar. You should now see the name of your VPN from the popup window at the top. Click on your VPN and select "Connect."
-
If it says you have successfully, connected, congratulations, you will not need to go any further. However, if it displays an error with a message similar to the following quote below, you will need to continue on to the next step.
The network connection between your computer and the VPN server could not be established because the remote server is not responding.
-
To fix this error, a one time registry change is needed because your windows computer is behind a NAT (a router). You will need to run the following steps from an elevated command prompt. When finished, reboot your PC. If you want to read more as to why this is needed, Microsoft has this documented.
-
Open an elevated command-prompt by:
- Click the Start button
- In the search box, type cmd
- Right click on "Command Prompt" or "cmd.exe" and click Run as Administrator
- It will ask you permission to run, click Yes
-
For Windows Vista, 7, 8.x and 10 copy the entire following content:
REG ADD HKLM\SYSTEM\CurrentControlSet\Services\PolicyAgent /v AssumeUDPEncapsulationContextOnSendRule /t REG_DWORD /d 0x2 /f
For Windows XP copy the entire following content:REG ADD HKLM\SYSTEM\CurrentControlSet\Services\IPSec /v AssumeUDPEncapsulationContextOnSendRule /t REG_DWORD /d 0x2 /f
- Paste it into the command prompt and press Enter
- Restart your computer. Once your computer is back on, you should now be able to do step 10 again and connect to your VPN.
-
Open an elevated command-prompt by: